Showing posts with label skirting. Show all posts

Wednesday, 12 September 2012

Ceaserstone installed, tiling still not finished

01-09-2012
Dropped into find all the Ice Snow ceaserstone has been installed and most of the sinks have been installed except for the kitchen and the bathroom WC. I have a feeling they have totally forgotten about this as the Bathroom WC sink it's non standard. 
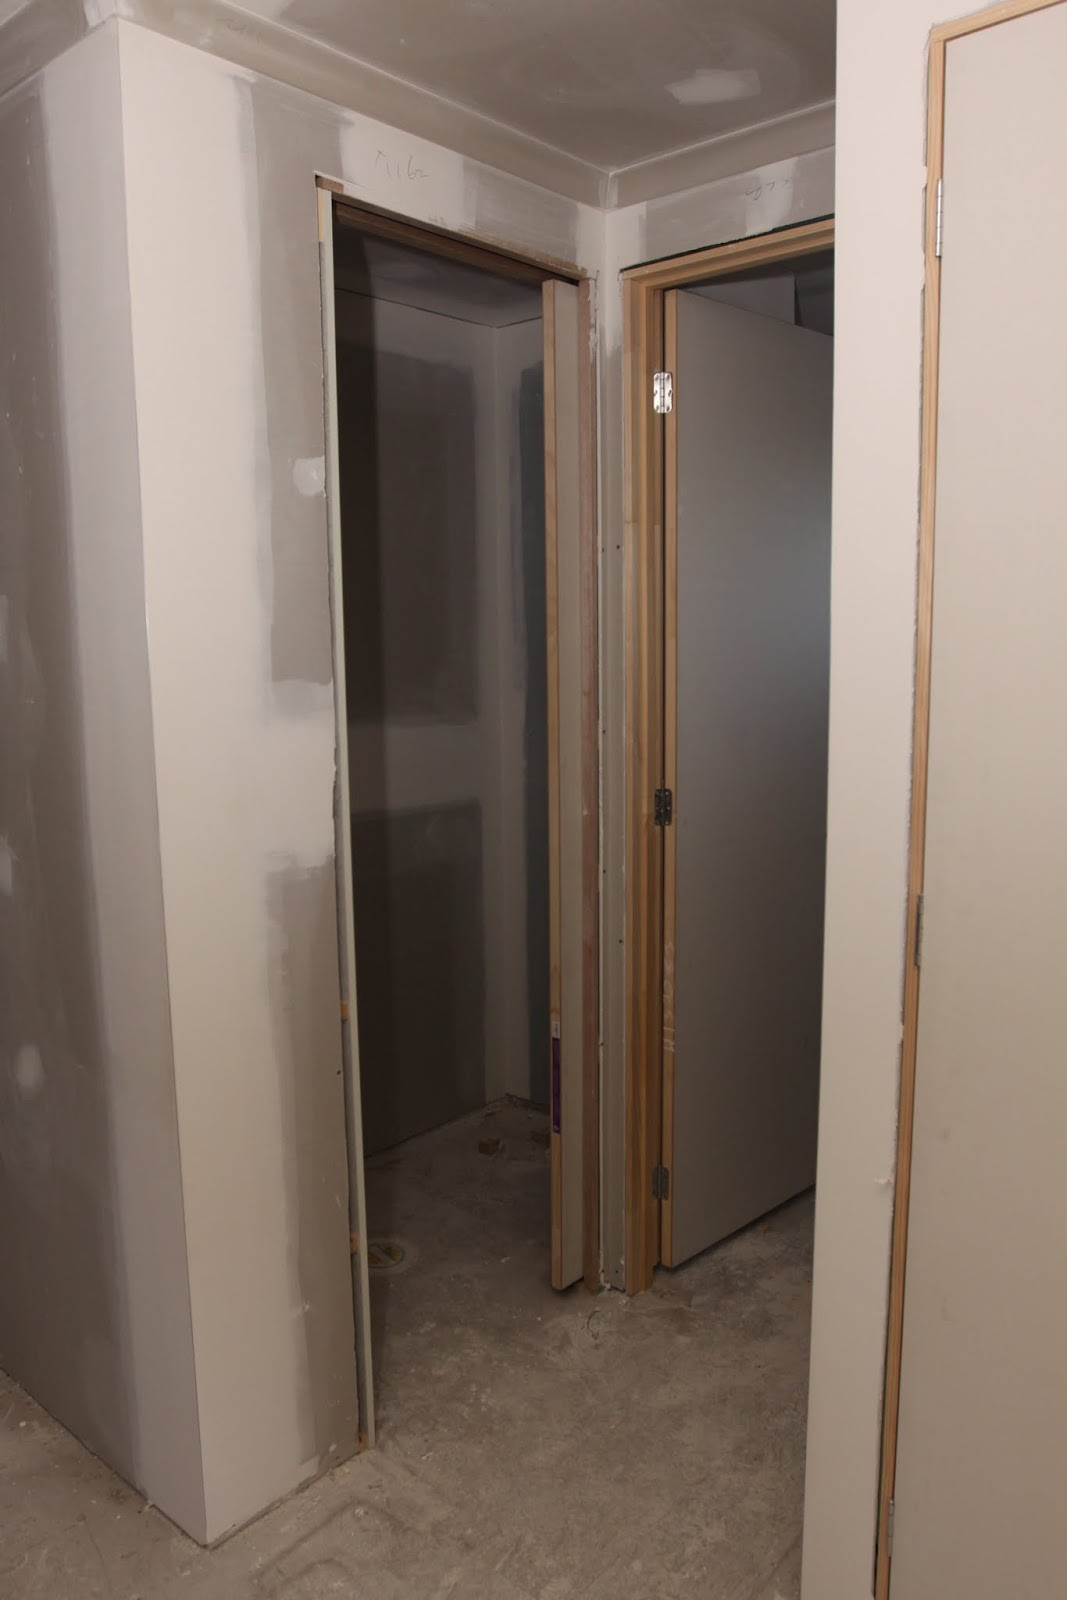
Powder room
1.5mm off white grout for the floor tiling and white grout for the wall tiling.

Ice snow ceaserstone and Caroma Liano Vanity Basin

We optioned for tiled kick rail for all the vanities.


Bathroom


I'm pretty sure tilers use the floor waste point as a starting point for tiling. I mean how else could you line this up any otherway?
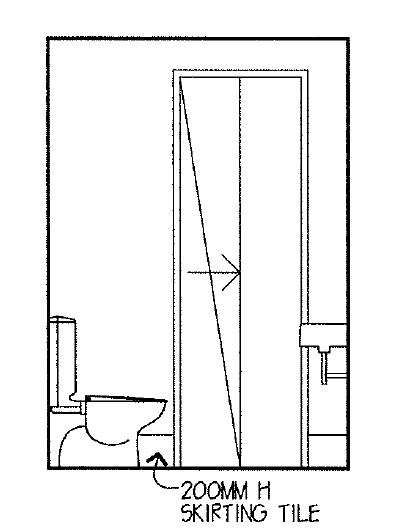

Bathroom WC
Anyone see a problem with the photo below? Off white grout has been used on the skirting, when it should be white. It was done correctly in the Ensuite WC but not here. In addition to this the tiling for the hand basin/mirror is not complete. Can't really see it in this photo but it's the wall on the left. Also the skirting should be 200mm high as specified in the floor plans, you can't tell from this angle but that definitely isn't 200mm. An issue I will probably need to take up with Di Lorenzo.


Ensuite


Really wished we changed this window, would have preferred to have this higher and have a layer of tiling between the bathtub and the window, similar to the pic below from one of their display home, sigh! 


Similar issue her in the Ensuite WC tiling isn't 200mm, however grout is the correct colour though.

Recess is shower


Gap between the bathtub and vanity. What should we use this space for? 

Bermuda Square Floor waste

Portico


Kitchen
Kitchen cearserstone installed, unfortunately we didn't have time to remove the protective foam to take any decent photos. 


Island bench has a 300mm overhang (breakfast bar) on both sides with water fall edges.


The hole we didn't ask for.

We ended up going for the free water filter as a result of the stone company's mistake. Settled for the square neck tap to match the main tap. We'll also be getting two Ice Snow chopping boards for free as well.


A sample floor board in the butler's pantry

Friday, 17 August 2012

Internal fit out started


31/07/2012
Got a call from our SS to say that over the next two weeks they will be preparing the fit out stage which involves the carpenter installing the doors, architraves, skirting. The wet areas will also be prepared for tiling and the kitchen/bathroom cabinetry will be delivered afterwards for installation. He also mentioned that the stairs has been installed and we can't wait to see it.

4/08/2012
Dropped onsite to find our front door had been installed! We upgrade to the Corinthian Windsor WINSWS 6G pivot door (2340mm high x 1020mm wide) in case anyone wants to know. Unfortunately to fit the Nolan 41 on our block we have to move the garage into the entry by 360mm. This meant that we couldn't install a wider front door without sacrificing the sidelights. We paid extra for translucent glazing but it's well worth it. Before signing off on the floor plans we decided to switch which way the front door swings. In the show room the key barrel is on the left, so the door swings right. That felt unnatural to me so I had this reversed.


Corinthian Windsor WINSWS 6G pivot door

Given that we can't actually see who is at the door and neither can the visitor, we'll need to install a video camera/intercomm. The cheaper option would be to install a peep hole which we can still do but I prefer a video door bell.

The stairs have been installed and we upgraded to maple tread and risers with stainless steel balustrades. Glass balustrades would have been nice but I'm concern that with little kids, the repair bill would just be too painful. As expected they had a layer of protection on the treads to avoid all the wear and tear during the internal fit out. 


Storage under the stairs

  
Electrical sub board will be installed under the stairs and this will be where all the cat6 cables will terminate. I'll need to purchase a fanless gigabit switch like this TP-Link TL-SG1016D. Overtime the stairs will rub against each other creating lots of saw dust, so I'll have to consider putting gyprock inside the stair case if M isn't going to do it by default. We'll also make sure the floorboards extend into this room as well. Nothing worse that dusty cold concrete on your toes.


They have started on the architraves down stairs and what I don't understand is in these photos is why the inside powder room architraves used is raw wood and the outside is a painted version? Is there supposed to be a difference?  

  
Laundry door (WIN21 2040mm high) with translucent glazing and butler's pantry sliding doors

Skirting and architraves


The pile of off cuts and saw dust heap

Upstairs cornices complete, we chose Boral 55mm Cove cornice, over the standard 90mm which was a no cost option. I prefer the smaller cornice look, if square set wasn't so expensive I would have paid for it upstairs.


Bedroom 1 French Doors installed

  
Sliding door to ensuite and bedroom 1 entry door (1020mm wide)

  
Bathroom WC sliding door and bathroom door installed. Since we upgraded the first floor ceiling height to 2550mm, it tends to exaggerate how narrow the doors are in the bedroom (820mm) and more so  the bathroom/toilet doors (720mm).

How door frames are padded out to fit to the house frame

Bedroom 5 door installed, all internal doors are 2340mm high

Bedroom 4 robe frame, we removed the void (approx 510mm wide) on the right and extended the robe space, $195 money well spent if you ask me as we've now got more storage.

I'm expecting the cabinets to be installed next week and we can't wait to see the kitchen.