
Sitting room awning windows

Sitting room

Entry

Entry

Powder room

Laundry

Looking from the laundry into the Butler's pantry

Butler's pantry

Looking from the kitchen into the butler's pantry.

Kitchen. We upgraded to square set cornices for the entire ground floor.


Family room

Family room sliding doors

Study and the window we should have changed as it's too low for our liking. Doesn't matter how many hours you spend looking over a plan, there are always things you will miss.

Garage

Bedroom 1

Bedroom 1 balcony double doors

Bedroom 1 alcove
Bedroom 1 robe (4.6m wide) on the right and the alcove on the left

Bedroom 1 entry

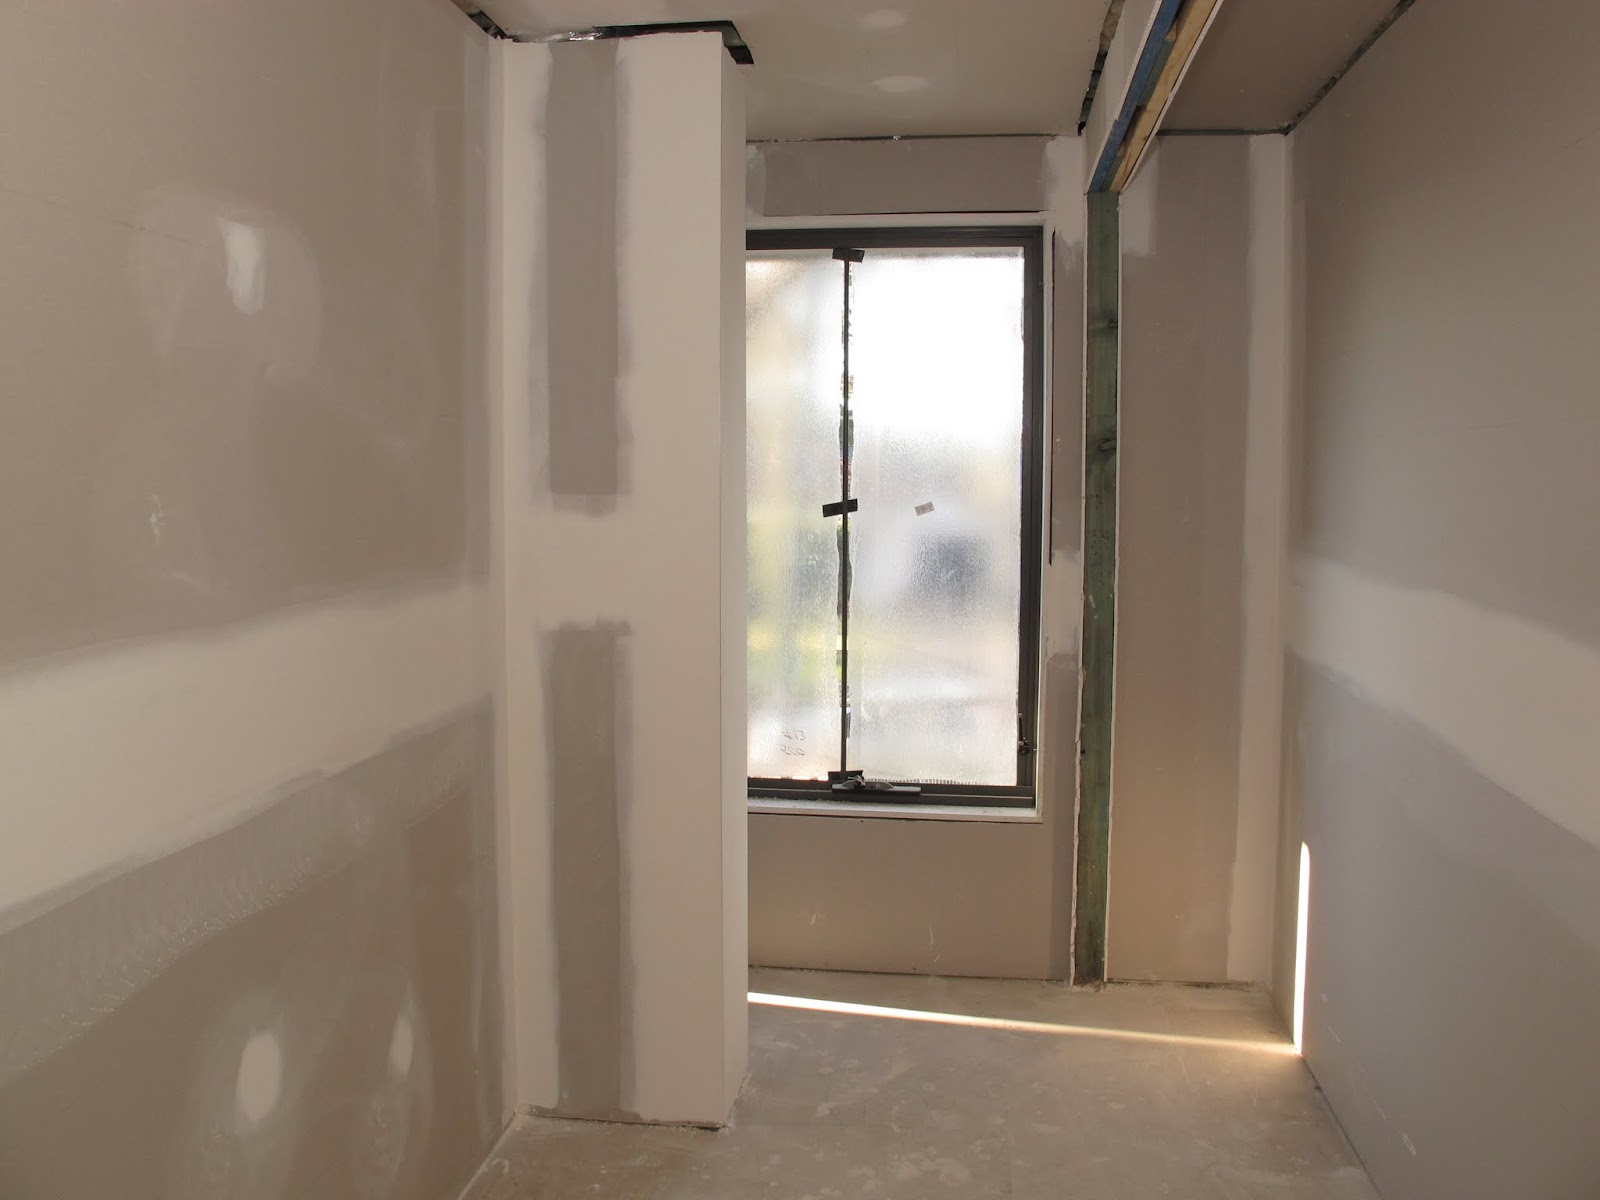
Ensuite

Ensuite shower with tiled recess

Bathroom

Bathroom

Manhole in bathroom

Bedroom 5 fixed windows

Bedroom 5 privacy window

Bedroom 5 robe (2.4m wide)

Bedroom 4 privacy windows

Bedroom 4 robe (2.5m wide), in the original plan there is a void on the right, we asked it to be deleted so we got more rob space, so it's the widest robe of all bedrooms, excluding the main bedroom of course.

Bedroom 3 we added an awning window to overlook the backyard. The Grand outdoor roof obscures a bit of the view, but it's still good to be able to see what's happening in the back yard.

Bedroom 3 privacy window

Bedroom 3 robe (1.7m wide) is smaller than bedroom 4 and 5.

Bedroom 2 privacy window

Bedroom 2 robe (1.7m wide)

Looking from the outdoor room into the dining/kitchen room

Family room aluminium bi-parting sliding doors

External drain pipes complete in rumpus and outdoor room

Looking out bedroom 3 window at the outdoor room tiling.

Photo from bedroom 3

Photo from bedroom 3


